
Introduction to Wool Felting
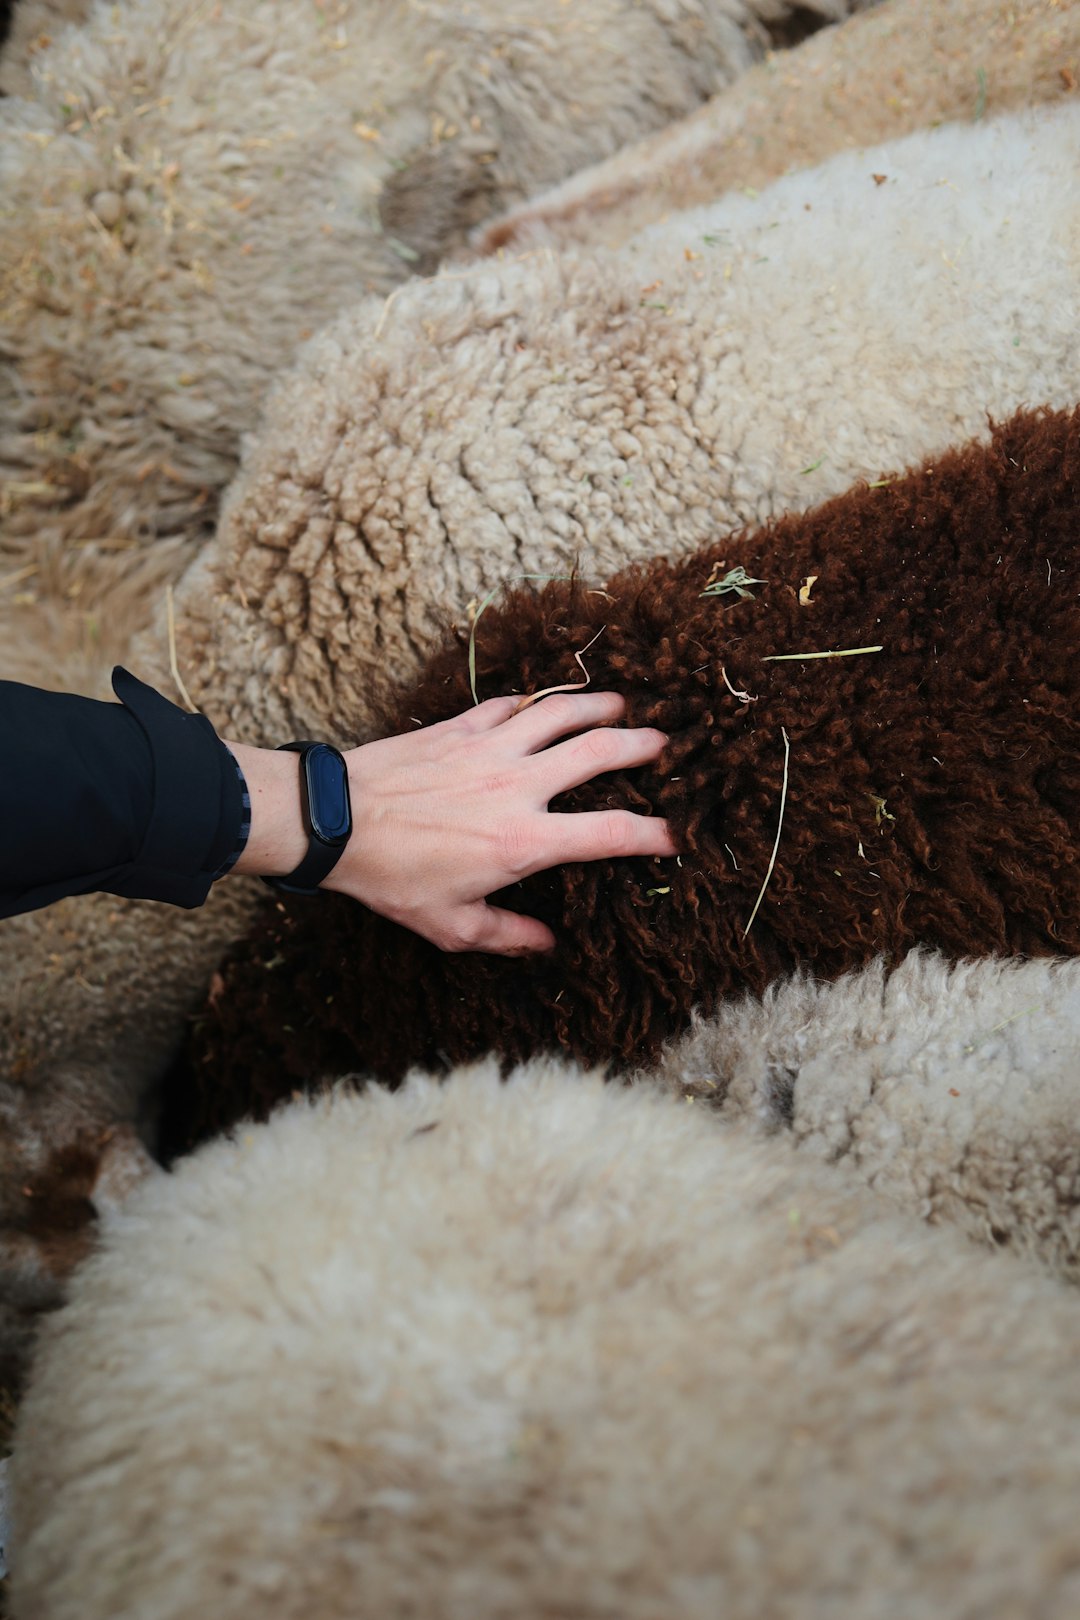
Wool felting is an ancient textile technique that transforms loose wool fibers into solid fabric. This craft has attracted enthusiasts for centuries due to its hands-on nature and the tactile satisfaction it offers. Hand felting, in particular, involves manipulating wool fibers by hand, allowing for the creation of unique and customizable pieces ranging from garments to decorative items.
Two primary felting methods exist: wet felting and needle felting. Each has its own process, materials, and end results, offering a variety of creative possibilities suitable for different skill levels and project types. Starting with wool felting can feel very peaceful, as the fibers slowly bind together to form a new fabric, making it a highly rewarding hobby.
Understanding Wet Felting
Wet felting relies on the combination of warm, soapy water and agitation to cause individual wool fibers to mesh and shrink into a solid fabric. This transformation leverages the natural barbs on wool strands that catch on each other when exposed to moisture and friction. The process results in a dense and sturdy fabric that can be cut without fraying, making it a versatile material for many uses.
The essence of wet felting involves layering thin wisps of wool in alternating directions, wetting them thoroughly with soapy water, and then gently rubbing or rolling the layers to encourage the fibers to lock together. Temperature changes, particularly moving from warm soapy water to cold rinses, aid in setting the felt. The entire felting experience combines both physical motion and tactile engagement, with the wool gradually shrinking and becoming firm under one’s hands.
Materials and Tools Needed for Wet Felting
To begin wet felting, a few simple materials are essential. Primary among these is 100% wool roving or fiber—animal-based fibers such as merino or alpaca work best because of their natural felting properties.
A workspace protective covering, such as a plastic sheet or towel, helps manage the inevitable moisture. Tools like bubble wrap or a bamboo mat provide surfaces for layering and working wool. These tools enhance the rubbing and rolling process that melds the fibers together. For those creating larger or more frequent projects, bamboo matchstick blinds offer durability and ease of use over bubble wrap.
Soap is another important component. Some felters prefer olive oil soap for its gentle properties, while many have successfully used plain dish detergent. Care must be taken when choosing soap, especially for light-colored wool, as some colored detergents can tint the fibers.
Access to warm water and a spray bottle or an improvised watering device—such as a pierced vinegar bottle—ensures even application of moisture during felting. The size and amount of water used depend on the project, but thorough wetting is key to successful felting.
Step-by-Step Wet Felting Process
Starting with a clean, ready workspace, place a protective towel on a flat surface followed by a sheet of bubble wrap or a bamboo blind with the bubbles or slats facing downward. Thin tufts of wool are pulled gently and aligned in one direction to form the first layer, covering slightly more area than the intended final size to accommodate shrinkage.
A second layer of wool is placed at a perpendicular angle to the first. This alternating pattern creates a strong, intertwined base. Spraying soapy water evenly over these layers initiates the felting sensation.
Hands gently press and rub the wetted wool, working the fibers without displacing them too much. Adding a third layer, again perpendicular to the prior layer, strengthens the fabric and creates texture. After layering, the entire setup is covered with another piece of bubble wrap or the second bamboo blind.
The pre-felting stage involves rubbing the sandwich of wool and wrap in all directions, gradually increasing pressure as the wool binds. Checking occasionally with a pinch test ensures progress; loose fibers indicate additional working or water may be needed.
Rolling the bundle tightly in a towel and moving it back and forth compresses and shrinks the fibers further, a process called fulling. Using a matchstick blind allows for rolling the wool more efficiently. Once sufficiently compact, the felt piece is thrown lightly onto a hard surface. This allows the fibers to interlock better and shrink further.
Final rinsing with cold water removes soap residues, and the felt is laid flat to dry. Throughout, it is advisable to plan for a 20–30% reduction in size due to shrinkage, and the process can be repeated or extended to firm or soften the final product.
Tips for Successful Wet Felting
Keep wool layers thin and even to allow water penetration and efficient agitation. Overly thick layers can hinder full felting and result in weak spots. Water temperature plays a pivotal role—warm water relaxes fibers and prepares them for bonding, while cold water after felting locks in the structure.
Experimenting with soap options can help find a balance that suits the desired softness and color preservation. Avoid colored soaps with light wools to prevent unwanted staining. When applying water, generous but controlled wetting is necessary; dry spots may cause uneven felting.
Working outdoors or in an easy-to-clean area makes cleanup after wet felting easier since water and soap spills are common. Practice on smaller pieces before progressing to large-scale projects, which demand more time and materials.
Exploring Needle Felting as a Dry Alternative
For those interested in precision or sculptural work, needle felting offers an alternative to wet felting. It uses special barbed needles to compact and interlock fibers by repeatedly poking them into a wool base, allowing for detailed shaping.
Unlike wet felting, needle felting does not require water or soap, which keeps the workspace clean and controlled. Since it is a more deliberate process, it works well for creating three-dimensional objects such as figures, decorations, or detailed embellishments.
Needle Felting Techniques and Tips
Starting with a felting mat or sponge prevents damage to surfaces and needles. Loose wool is gathered into a rough shape, which is then repeatedly pierced with needles to compress the fibers gradually.
Using different needle gauges allows the felter to create both broad forms and fine details. Coarser needles work effectively for shaping the bulk of a piece, while finer needles refine edges and surfaces.
Patience is essential. Slow, methodical poking reduces the risk of broken needles and finger injuries. Practicing with small shapes, such as hearts or stars, builds familiarity with the needle’s responsiveness.
Creative Projects for Wool Felting Beginners
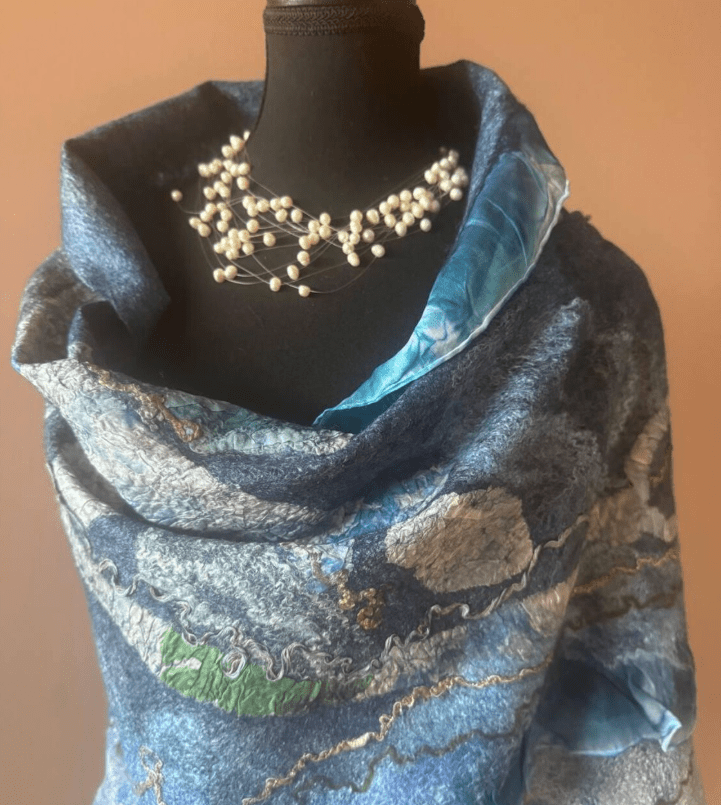
Beginners can find enjoyment in simple projects that build foundational skills. Felted wool coasters provide a quick and functional outcome, while coin purses and brooches incorporate both form and utility.
Slippers and handmade wool jackets represent intermediate goals, showcasing felt fabric’s durability and warmth. These projects offer opportunities to combine felting with sewing or embellishment.
As confidence grows, combining wet and needle felting techniques allows personal expression through detailed additions on flat felt or adding dimension to sculptures.
Common Questions About Wool Felting
One frequent query is whether synthetic wool can be felted. The answer is no—successful felting requires natural animal fibers that possess microscopic scales essential for interlocking.
Many wonder about mixing felting techniques. It is perfectly acceptable to wet felt a fabric base and then add needle-felted details, creating versatile and textured pieces.
Regarding permanence, felting creates a lasting bond between fibers. While small adjustments and stretching may be possible, generally felting is irreversible once fully completed.
Choosing and Buying Wool for Felting
Selecting the right wool is critical for satisfying results. Look for 100% wool labeled as carded wool, merino roving, or felting wool for optimum felting properties.
Natural, untreated fibers felt more easily than superwash or synthetic blends. When purchasing, consider the color and texture preferences, as these influence the final piece’s appearance and feel.
Wool can be sourced from local craft stores or reputable online retailers specializing in natural fibers. Starting with affordable and smaller amounts is advisable for beginners.
Final Thoughts on Felting Wool by Hand
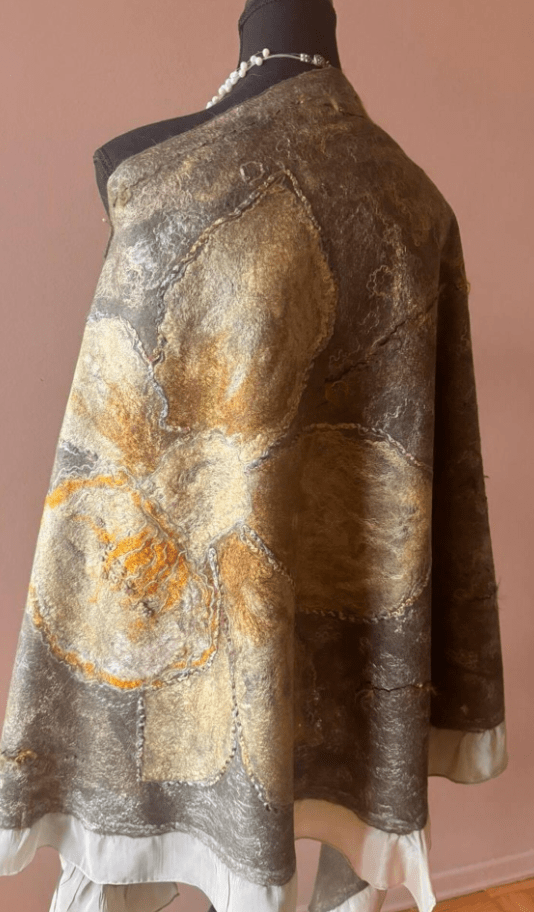
Hand felting wool marries creativity with craftsmanship, offering endless opportunities to transform simple fibers into functional and beautiful items. Whether choosing wet felting’s hands-on water method or the needle felting’s sculptural precision, the craft invites patience and experimentation.
Beginners are encouraged to start with manageable projects and grow their skills naturally. The materials and tools needed are accessible and affordable, making this a welcoming pastime. Above all, felting provides a tactile connection to a timeless craft that nourishes both the mind and hands.
The gentle ritual of working with wool fibers offers a quiet refuge and tangible satisfaction from making something with one’s own hands. Start with a bit of wool, some soap, and water—and watch as individual fibers come together to form a new fabric, uniquely yours.